 NexSHOPX-官方新闻
Whether you've bought an account or taken one over from a colleague or partner, the things to check during handover fall into four categories: whether the delivery materials are complete, whether the first login is done correctly, whether the security settings contain anything that isn't yours, and whether the business permissions have actually been transferred to you.
There's also a thread that runs throughout: before you modify anything, check the warranty rules on the product page. Many categories don't allow changes during the warranty period, so the correct order is to check first, then change—not to change the password as soon as you log in.
Below, we'll go through the steps in the order you'd actually perform them.
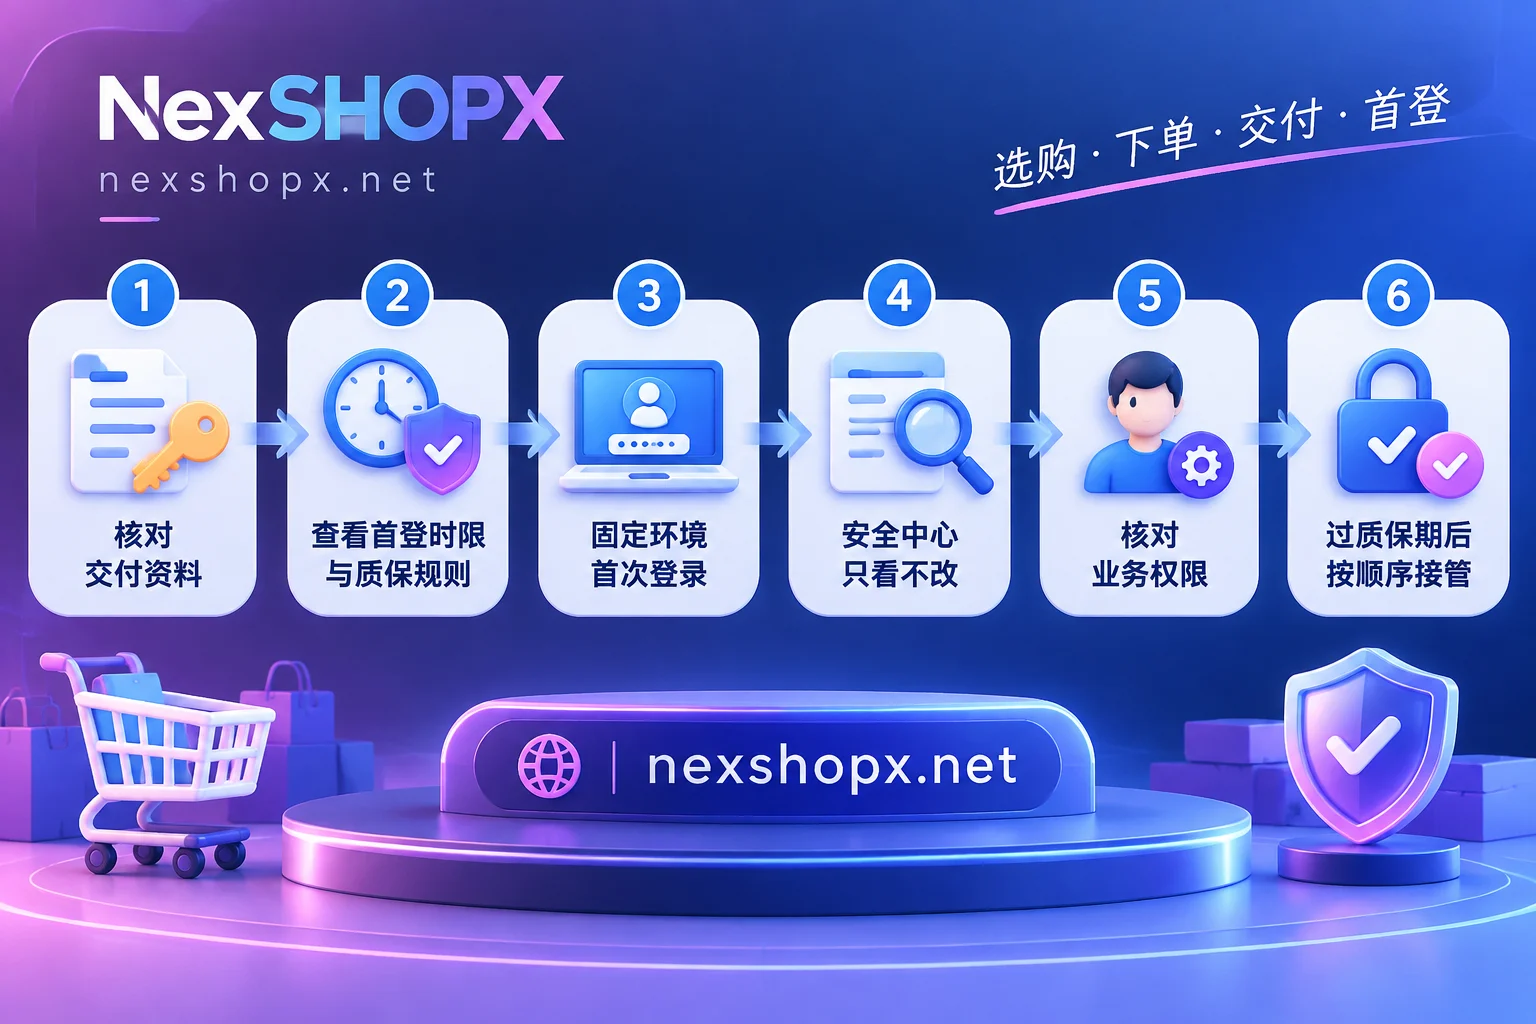
Step 1: Before logging in, verify the delivery materials
Don't rush to log in after receiving the goods. Cross-check what you have against the table below:
| Material | Purpose | What happens if missing |
|---|---|---|
| Account and password | Basic login | Cannot log in |
| Auxiliary email and its login method | Receive verification emails, recover account | Stuck when platform requires email verification |
| 2FA secret key or QR code | Import into your authenticator app to generate codes | Account has 2FA enabled, but you can't get codes |
| Backup codes | Fallback login when authenticator fails or SMS isn't received | No backup if authenticator has issues |
Not every item comes with all four. Some categories only deliver account and password plus auxiliary email. The standard is what the product page states: if it says it includes something, and it's missing, contact support promptly; if it doesn't say, don't assume it's included. If you're unsure whether account and password alone are sufficient, see Is an account with only username and password considered complete delivery?; for when 2FA and auxiliary email each matter, see What are 2FA and auxiliary email for, and what if they're missing?.
Once verified, store all materials in your own password manager or encrypted document. Keep backup codes separately—for example, with Google accounts, each backup code can only be used once.
Step 2: Check the first-login deadline and warranty rules
Before logging in, confirm three things on the product page:
- First-login deadline: Many products require first login within a limited time after purchase, or after-sales support may be affected. For when the clock starts, see When must I complete the first login for a purchased account?
- Warranty length: It's common that if the account is disabled during the warranty period, you can get a replacement, but some categories only offer a few days of after-sales support.
- Whether you can change information during warranty: Some categories explicitly forbid changing the password, email, or phone number, and doing so may void the warranty. For what counts as "changing information," see What does it mean that you can't change information during the warranty period?
These three points determine what you can modify and what you can only inspect. Specific durations and restrictions depend on the product page you purchased from; for general rules, see Terms of Service and Warranty Explanation.
Step 3: First login—use the environment you'll use long-term
For the first login, it's best to use the device and network you plan to use long-term for this account, and the network region should match the account's actual usage region as much as possible. After logging in, don't immediately switch IPs or devices frequently, and don't log in on multiple devices at the same time. New device logins themselves trigger extra verification, and changing environments can easily cause additional checks or even temporary locks.
If a team manages multiple own accounts simultaneously, each account should have a fixed environment and not be mixed.
If the first login fails, first determine from the error whether it's an account status issue or an environment issue. You can refer to Is a failed login due to a ban or an environment issue?
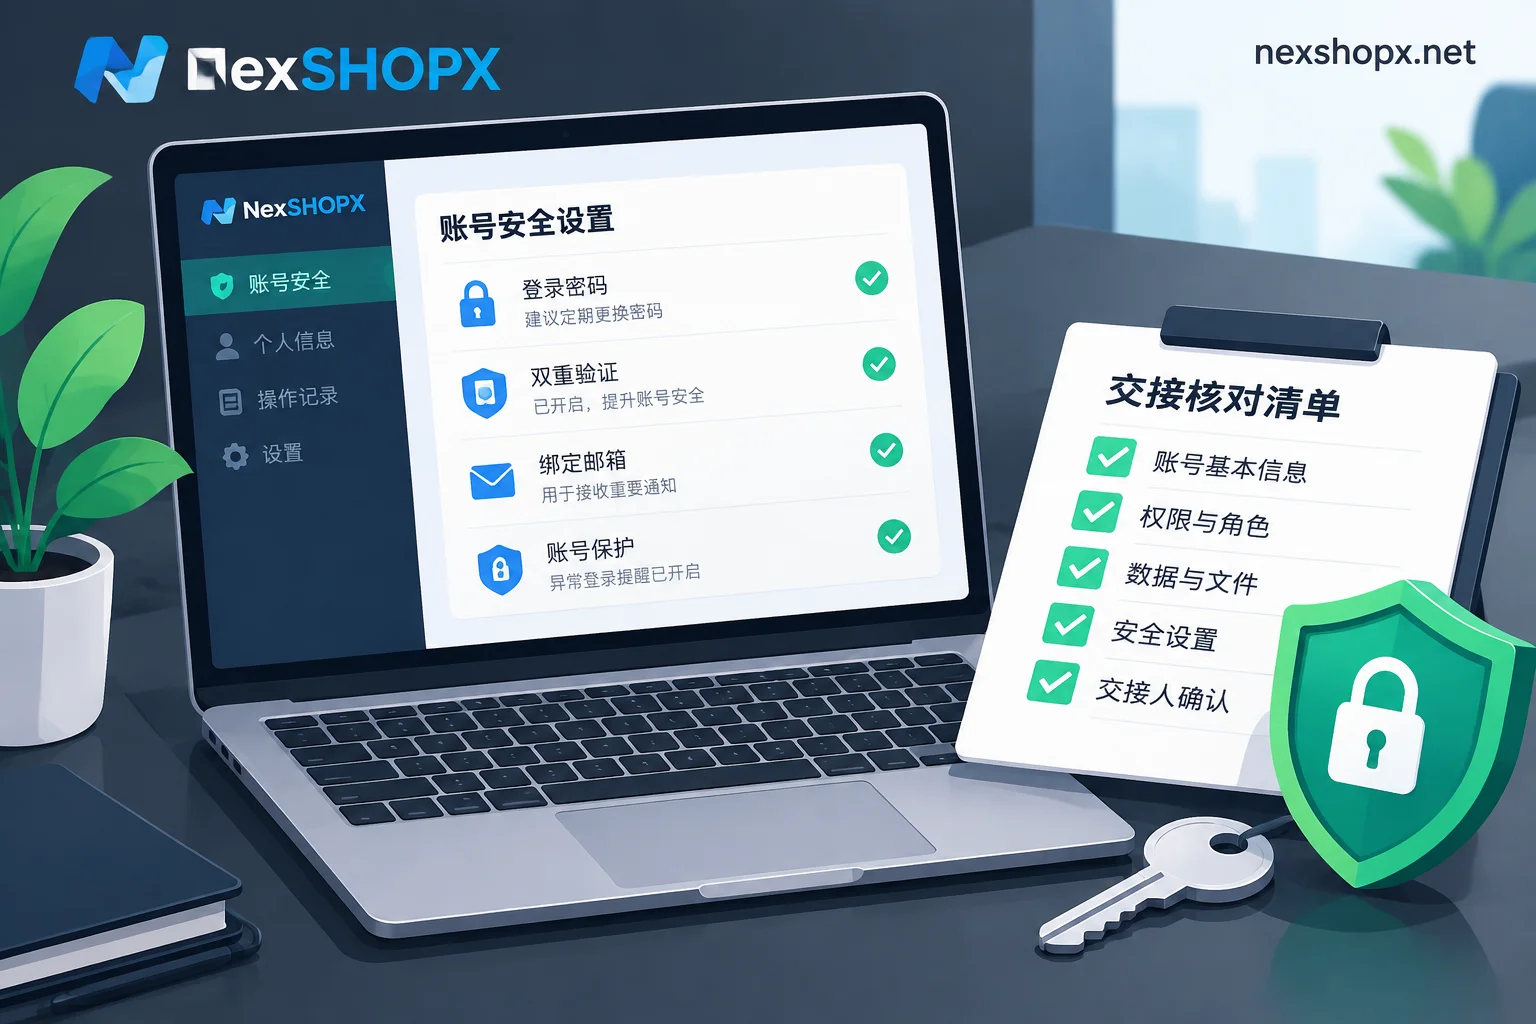
Step 4: Enter the security center—first "look, don't touch"
After successful login, go through the account's security settings item by item. In this step, focus on viewing and taking screenshots. Whether to make changes depends on the warranty rules you saw in Step 2.
- Auxiliary email and phone: Confirm the auxiliary email is the one delivered to you, and that you can log in and receive emails; check what phone number is linked.
- Two-factor authentication methods: See which verification methods are enabled, such as authenticator, SMS, security key (hardware key). Pay special attention to any method you don't have, like an unfamiliar hardware security key.
- Logged-in devices: See which devices are listed and their recent activity times; take screenshots for records.
- Third-party app authorizations: Which apps or services have access to the account. This is especially important for accounts taken over from someone else—authorizations left by the previous owner remain valid until revoked.
If you discover unknown recovery methods, security keys, or authorizations: if the product page allows changes, you can remove them directly; if changes are forbidden during the warranty period, take screenshots and contact support first—don't act on your own, lest you lose the warranty without solving the problem.
Step 5: For social media, ad, and business accounts, also verify business permissions
For these types of accounts, being able to log in doesn't mean the handover is complete. Also confirm:
- Roles on pages, channels, or business backends: Whether you are already the Owner or Admin, and whether the permission transfer has actually taken effect, rather than just being added as a regular member.
- Ad permissions: If you bought an unrestricted or ad-enabled account, go into the ad backend to confirm you can create campaigns normally—don't just rely on the product description.
- Historical violations and feature restrictions: Check the account status page or support inbox for warnings, penalty records, or feature restriction notices.
These states should match the product description item by item; if they don't, report it as early as possible during the after-sales period.
Step 6: After the warranty period, take over security information in order
Wait until the warranty acceptance is over and the account has been used stably in a fixed environment for some time, then start replacing security information with your own. There's no unified rule on how long after a new device login it's safe to change security details, and you don't need to aim for a specific number of days. The principle is: don't make a bunch of changes all on the login day.
We recommend this order:
- Change the password.
- Replace the auxiliary email and phone with ones you control long-term.
- Reset two-factor authentication by binding it to your own authenticator; also regenerate backup codes. For Google, for example, when a new set is generated, the old set becomes invalid, so the original holder's codes are voided.
- Log out sessions of devices that aren't yours from the list, and revoke unnecessary third-party authorizations.
If the product page itself allows changing information at any time, it's still advisable to follow this order and do it in several sessions rather than all at once.
What to do if you find issues during checks
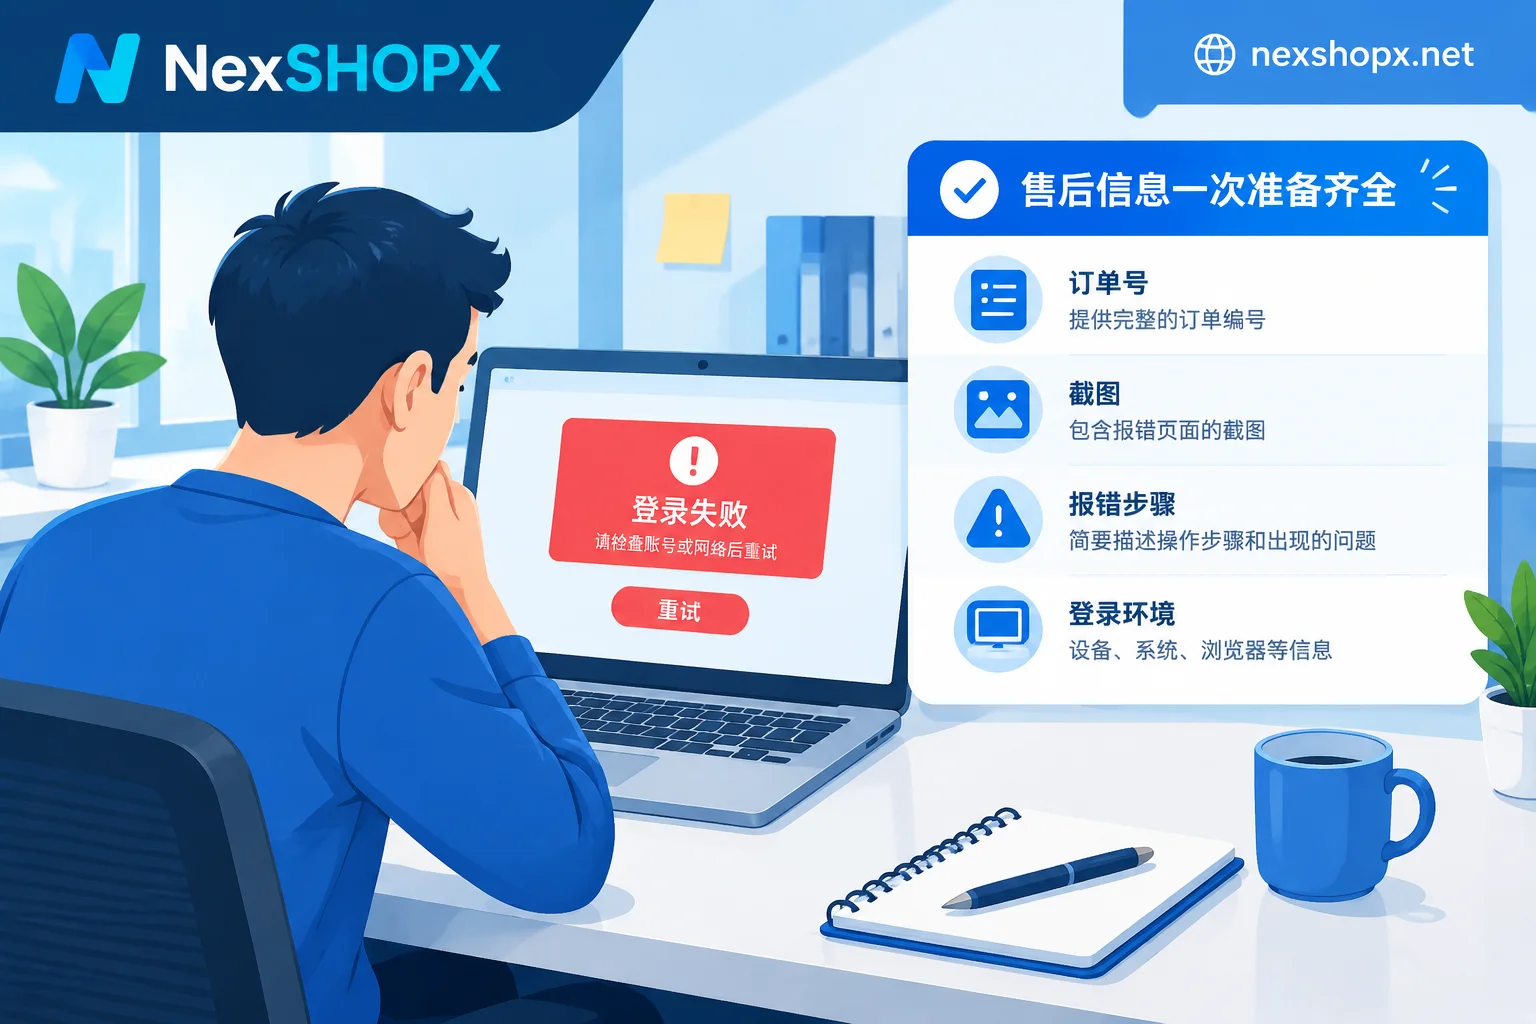
If materials are missing, you can't log in, or the account status doesn't match the description, prepare the following before contacting after-sales: order number, product name, first login time, error screenshots, login method and network details, and what actions you've already taken. Be honest about whether you've changed any information—this directly affects whether warranty processing is possible. For how to describe it clearly in one go, see What information to provide when contacting the seller for after-sales support after a failed login.
Not yet ordered: use this checklist when choosing products
If you're about to make a purchase, you can use this checklist when browsing products on NexSHOPX: whether the delivery includes auxiliary email, 2FA key, or backup codes; how long the first-login deadline is; and whether you can change information during the warranty period. Checking these in advance will save a lot of back-and-forth during handover. You can first find the right product by use case in All Categories, and after confirming specs, place an order in the Store. Prices and stock are subject to the store page.


Comments(0)