 NexSHOPX-官方新闻
A usable account handover checklist must answer three questions:
- Who manages this account and what is it used for?
- Can the successor log in, and can they recover the account if something goes wrong?
- On what date and in what order do permissions transfer from the previous owner to the new one?
A table that only lists usernames and passwords answers at most the first question. The common headaches after offboarding stem from the last two: when the new person tries to log in, the platform demands two-factor authentication, but the verification code goes to a colleague's phone who has already left; or advertising assets are tied only to someone's personal account, so once they leave, the team loses management access.
Below, we list fields across five modules, then explain the handover sequence. The platforms your team operates vary—social media, ad accounts, email, or AI tools. You can add or remove fields per platform, but we recommend keeping all five modules. If you need a step-by-step checklist for the handover day, use this alongside the six-step account handover checklist.
First, set the format: one account per row, no plaintext credentials
- One account per row, with an internal ID that runs through the entire table. Later, when you report issues or track permission changes, you can match by ID.
- Do not write passwords, 2FA secrets, or backup codes directly in the table. Store them in your team's password manager or an encrypted file, and only note the storage location and entry name in the checklist. Tables are often forwarded and screenshotted, so plaintext credentials easily leak.
- Record the date and operator for every change, so you can trace who changed what and when if problems arise.
What to write in each of the five modules
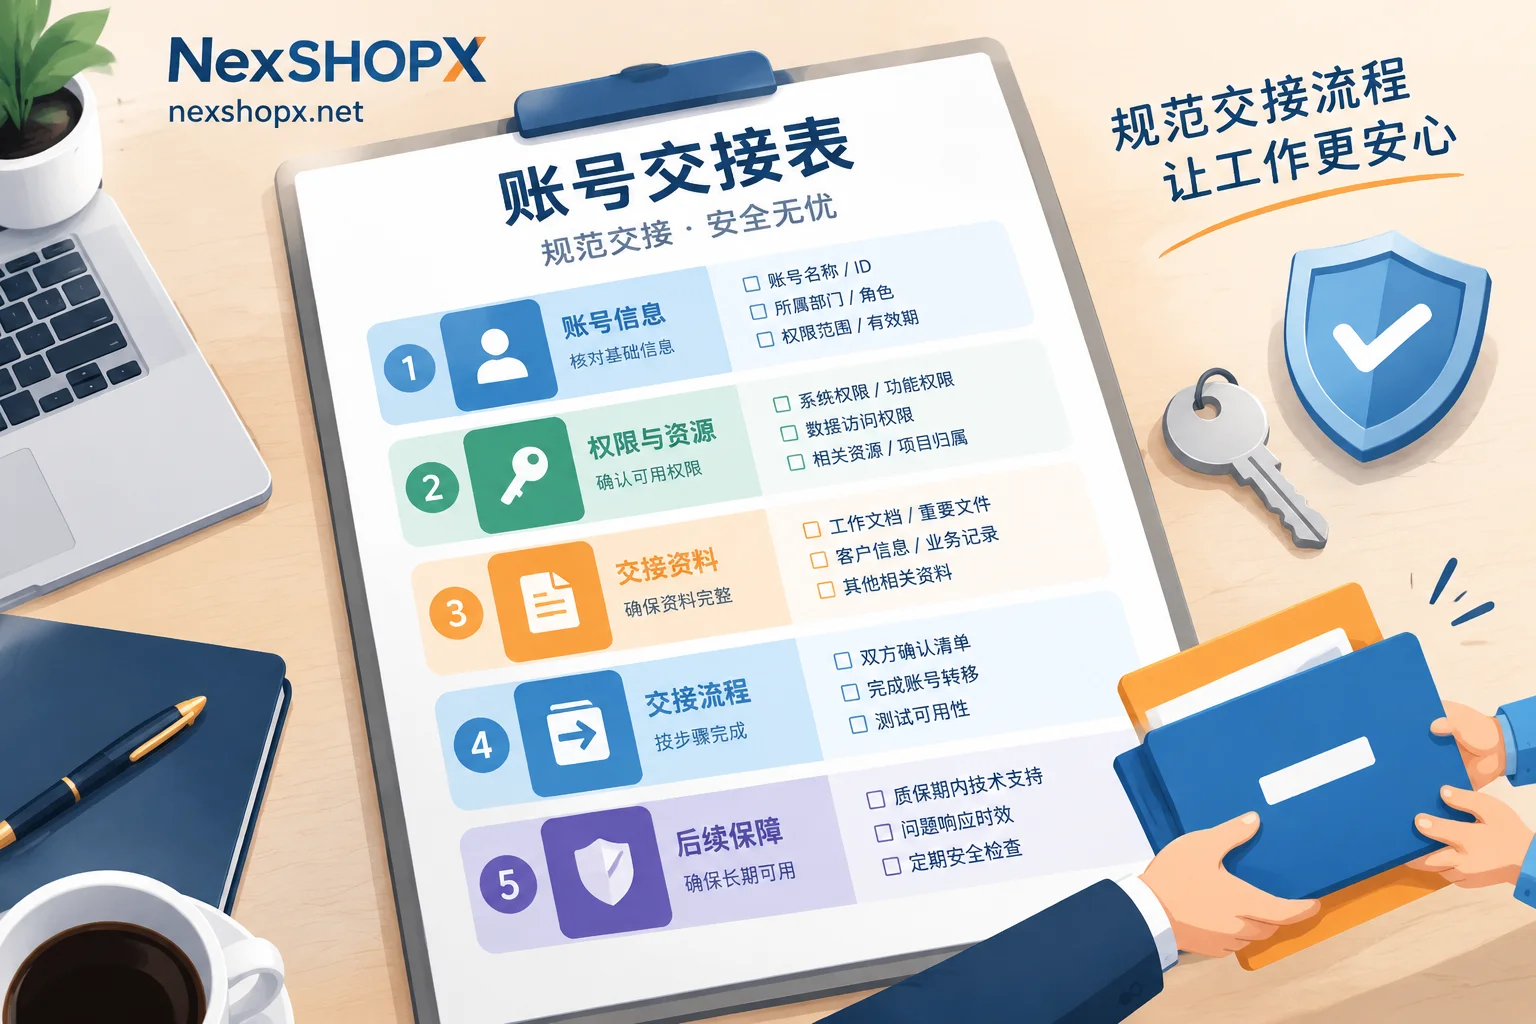
| Module | Key Fields | Why Write It |
|---|---|---|
| Basic Info | Platform, account ID, login name/email, business purpose, activation date, current owner, handover confirmer | Clarify ownership and responsibility |
| Login & Recovery Credentials | Password storage location, 2FA method and secret location, number of backup codes remaining, auxiliary email and its credentials, recovery phone number and who holds it | Ensure the successor can log in and recover the account |
| Login Environment | Common device or browser profile ID, network egress country/region, whether currently logged in | Let the successor log in for the first time in the original environment |
| Assets & Permissions | Asset portfolio ID, associated pages/ad accounts/Pixel/payment methods, admin list, subscription expiry date | Avoid permissions resting with one person |
| Acceptance & Status | First login time, functionality acceptance result, rebinding status, old access removal date, previous owner's permission removal date | Track handover progress and confirm completion |
Basic Info: extra fields for purchased accounts
For self-registered accounts, just fill in platform, purpose, and owner. For externally purchased or agent-created accounts, record additional items: delivery form (in-stock delivery or pre-order), order time, first login deadline, warranty start/end dates, and whether profile changes are restricted during the warranty period. Copy these conditions exactly as stated on each product page; do not fill them from memory.
Login & Recovery Credentials: the auxiliary email itself must be handed over
In the 2FA column, specify the verification method: authenticator (TOTP secret), SMS, or security key. For authenticators, note where the secret is stored. Record the number of one-time backup codes remaining and update it each time one is used.
The most easily overlooked items are the auxiliary email and recovery phone. The auxiliary email is another account, and its login credentials must also be listed. For the recovery phone, state who actually holds the number. If the SIM card left with the departing colleague, that recovery path is effectively broken.
There is also a timing consideration. Google's help notes that for about 7 days after changing the recovery email or phone, verification may still send codes to the old contact method. So during the transition, do not immediately cancel the old number or delete the old email.
Login Environment: let the successor log in under the original environment
Multi-account teams typically assign a fixed browser profile and network egress to each account. Record the profile ID and the egress country or region in the checklist, and have the successor use them for the first login. Sudden changes in device and location may trigger additional verification. Keeping the environment consistent reduces such surprises, but does not guarantee no verification.
Assets & Permissions: add people first, then remove
For advertising and social assets, we recommend placing them under a Meta Business Portfolio, not tied to an employee's personal account. Record the portfolio ID and its associated Pages, ad accounts, Pixels, and payment methods. Meta officially recommends at least two admins per portfolio. During handover, invite the new admin first, wait for them to accept, then remove the departing person. Do not hand over an admin's personal account password for others to use.
For other platforms, follow the same logic: sub-accounts, API keys, bound stores, membership expiry dates, and renewal methods. For memberships opened on the user's own account via an agent, record the renewal date and the person responsible for renewal in a separate column.
Acceptance & Status: handover completion needs a conclusion
After the successor's first login, they should actually test the account's core functions: email send/receive, social posting, ad account access, and membership features. Record rebinding status in three levels: not changed, in transition, completed. Also fill in the date the previous owner's permissions were removed; only then is the handover finished.
Handover sequence: confirm usability first, then rebind, finally revoke permissions
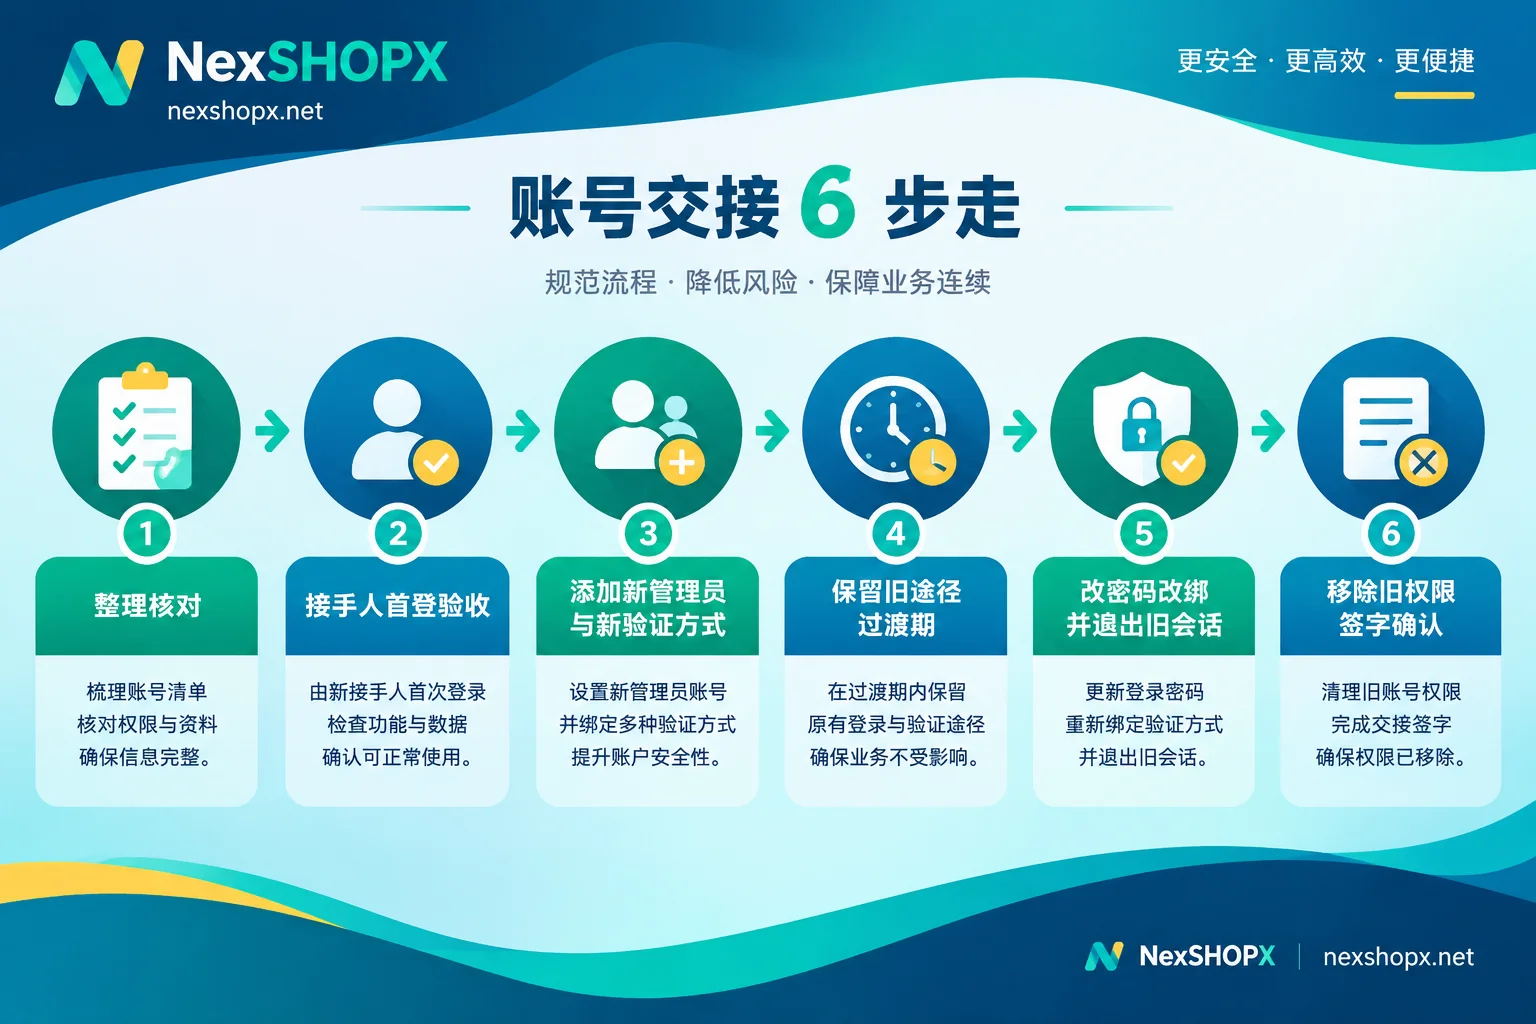
- Organize and verify: With the previous owner present, complete the checklist and confirm face-to-face that each credential works.
- Successor's first login: Log in using the recorded environment and complete functionality acceptance.
- Add new access paths: Add new admins and new verification methods, and wait for them to accept.
- Keep a transition period: Leave old recovery paths in place until the buffer period passes.
- Change passwords and rebind: Also sign out sessions on old devices and revoke third-party authorizations. Changing only the password may leave old sessions active; see why someone can still get in after you change the password.
- Remove old permissions and sign off: Update the checklist status to "completed" with date and confirmer.
For purchased accounts, step 5 must first be checked against warranty terms. Some categories prohibit profile changes during the warranty period, and rebinding early may void the warranty. For details on which changes matter, see what it means that profile changes are not allowed during the warranty period. For when the first login deadline starts, refer to when a purchased account must complete its first login.
Before adding a purchased account to the checklist, confirm the product page terms
If your team needs to supplement email, social, or AI accounts for a new project, you can select specifications by purpose in NexSHOPX's all categories. In-stock items ship automatically after self-service ordering; pre-order items are delivered after customer service confirmation. First login deadlines, warranty duration, and whether profile changes are allowed during warranty vary by product; refer to the product page and terms and warranty rules. After ordering, copy these conditions verbatim into the Basic Info module of your checklist to avoid missing them during handover.
If you encounter login failures during handover, first gather information based on the recorded environment and error screenshots, then contact after-sales support; see what information to provide when contacting the seller for login failure.



Comments(0)