 NexSHOPX-官方新闻
To transfer two-factor authentication for an overseas account to your name, there's only one safe sequence: first add your own verification method, then verify it can independently log in, then remove the original holder's methods, and finally clear sessions and trusted devices. If you reverse the order, you'll lock yourself out first while the original holder remains online. Here's a step-by-step breakdown with preconditions, actions, and failure indicators for each step.
Step 1: “Add” – The first step in transfer only involves addition
The first step is purely additive: don't touch the original holder's phone number, email, or authenticator. Their old credentials remain intact, so if anything fails, you have a fallback.
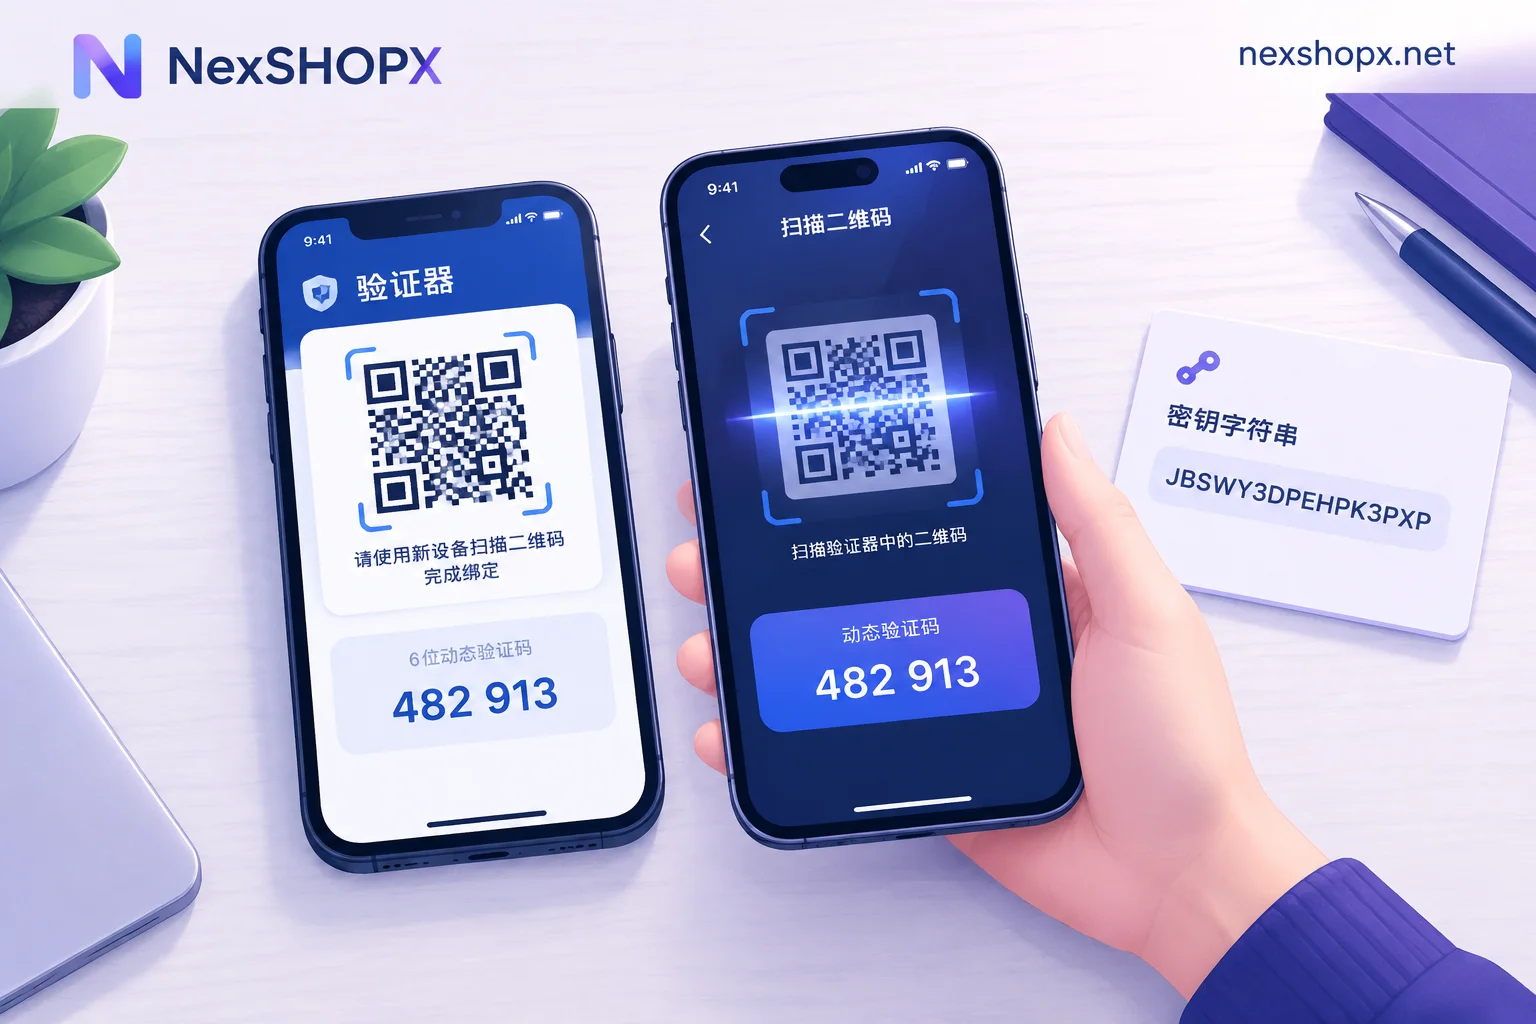
When adding, prioritize authenticator apps (like Microsoft Authenticator, Google Authenticator) or Passkey over SMS. Reason is simple: SMS verification codes depend on your phone number and carrier, while authenticators and Passkeys are tied to a device or hardware key, independent of who owns a phone number.
On most platforms, adding a new verification method requires you to verify your identity using the existing method—usually by entering a code sent to the original holder's phone or a link to their email. This is normal, not the original holder trying to block you. If you can't get past this step, you don't have basic login access yet, and you'll need to resolve login issues through customer support.
Step 2: “Verify” – How to confirm the new method truly works for a standalone login
“Receiving a verification code” is not the same as “being able to log in independently.” For this step, use a clean device, log out of the current session, and complete the entire login flow using only your newly added method.
Specifically: on another phone or computer, open the login page, enter your credentials, and after that select your new authenticator or Passkey to complete verification. If you can successfully enter the account, you've truly “verified” it.
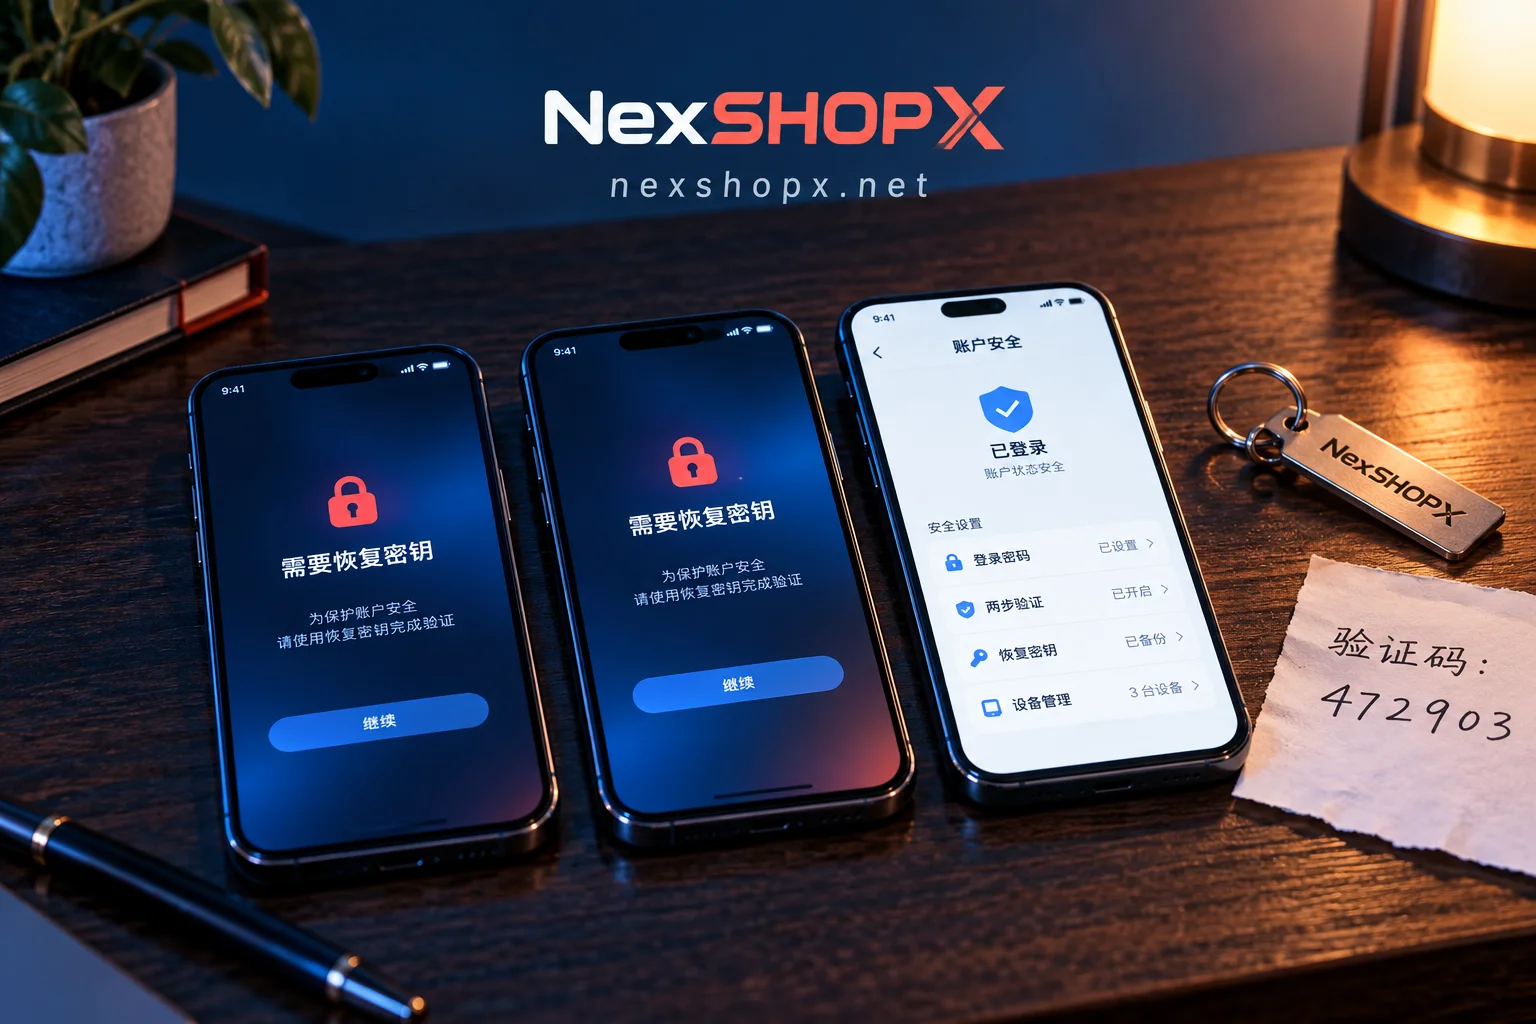
If you see “additional verification required” or don't receive your own verification code, stop immediately and don't change any settings. Check: whether your new method was actually saved, whether your device's time is synchronized (authenticators often fail if the phone time is off), and whether the backup email still belongs to the original holder. Once you know the cause, decide the next step. This also addresses “overseas account not receiving verification code” – first check if your new authenticator is properly bound, then check if it's being intercepted by old methods. If still unresolved, see account login failure troubleshooting for more guidance.
Step 3: “Remove” – When to remove the original holder's phone number and authenticator
Only after your new method has successfully completed a full standalone login should you remove the original holder's old verification methods. The removal order also matters: first remove their authenticator and phone number, then handle recovery email and backup email.
Many fail because they “delete first, add later” – they remove the original holder's phone number, then find themselves stuck when adding their own method because they can't verify via existing methods, locking themselves out. So remember: add first, remove later; don't reverse.
During removal, platforms may require at least one verification method to remain. Ensure your new method is recognized as the primary channel. For example, some platforms force you to keep at least one authenticator or backup email before removing all others. In that case, prioritize keeping your new authenticator.
Step 4: “Clean” – Clear sessions, revoke authorizations, regenerate backup codes
Changing the verification method doesn't mean the original holder loses access. Old sessions, trusted devices, app-specific passwords, and authorized third-party apps may still be valid. This step involves three cleanup actions:
- In security settings, find “logged-in devices” or “session management,” and log out all other devices, keeping only your current one.
- Revoke all app-specific passwords and third-party app authorizations, especially API connections for email, ads, or e-commerce platforms.
- Regenerate two-step verification backup codes and store them offline – write them on paper or keep in a non-connected password manager, not in a screenshot on cloud storage.
Why You Can't Just Switch SMS to Your Own: The SMS Channel Is Being Deprecated
Relying on SMS for overseas account 2FA is becoming outdated. Microsoft officially announced in Microsoft Entra ID that from September 1, 2026, Passkey becomes the default verification experience for Entra ID, and users with SMS/voice verification will be prompted to register a Passkey; from February 1, 2027, the native SMS and voice MFA services will be fully retired.
Note: This timeline only applies to Microsoft Entra ID, not directly to other platforms. But it represents a clear trend: SMS codes as a primary channel have a shrinking shelf life. So when taking over an account, set an authenticator or Passkey as the primary channel, with SMS only as a backup. If you just change the phone number to yours, it may not be sufficient in a few months.
Additional Hurdles in E-commerce and Ads Scenarios: Where 2SV Mandates Can Trip You Up
In TikTok Shop Seller Center and Ads Manager, platforms continuously require merchants and advertisers to enable two-step verification (2SV), offering SMS, email, and authenticator as binding channels. This means you cannot temporarily disable 2SV and re-enable it; you must switch while it's active. For TikTok-specific security items, see TikTok account security settings.
So when transferring such accounts, the “turn off 2SV, change, then turn on” approach won't work. You must follow the “add first, remove later” sequence, and also check that the bound email is under your control – if the email still belongs to the other party, they can still reset the password via email, effectively negating the transfer.
Three Typical Residual Issues After Transfer: Backup Codes, Trusted Devices, Recovery Email
Many transfers seem complete but leave three residual risks:
| Residual | How to Identify | Remedial Action |
|---|---|---|
| Old backup codes | Still have pre-transfer 10- or 16-digit backup codes | Regenerate and save new codes to immediately invalidate old ones |
| Trusted devices | Security list still shows the other party's frequent devices | Clear all trusted devices, log in from your own device and re-trust |
| Recovery email | Password reset or 2FA fallback path still points to other party's email | Change to your email in security settings and verify ownership |
These three are decisive factors in whether the account can be recovered by the other party, and they explain “can the original holder still log in after changing 2FA” – if these residuals remain, the other party can still enter via backup codes or trusted devices.
Self-Check List: How to Determine Full Transfer of 2FA Sovereignty
Check each item below to ensure full transfer of 2FA sovereignty for the overseas account:
- [ ] New verification method (authenticator or Passkey) can complete a full login independently on another device
- [ ] Original holder's phone number, email, and authenticator are all removed from the account
- [ ] “Logged-in devices” list shows only your devices; trusted devices cleared
- [ ] Backup codes regenerated and stored offline in a safe location
- [ ] Recovery email and bound phone number belong to you
- [ ] Third-party app and API authorizations reviewed, unnecessary permissions removed
If any item fails, don't proceed with ad campaigns or product listings; first regain full control.
Issues to Avoid at the Procurement Stage: What to Ask Before Ordering, What to Do If First Login Fails
Moving transfer challenges to the procurement stage can save a lot of hassle. Before ordering, use in-site category search and product descriptions to confirm account type and delivery details; after delivery, if the first login fails, keep timeline evidence and screenshots, and contact customer service promptly.
On the NexSHOPX platform, you can use category search to filter target accounts before ordering and complete the purchase via a self-service ordering process; after delivery, if you encounter login issues, you can get support from 24/7 Telegram customer service, and the platform offers time-limited after-sales handling for login failures. But note the boundaries: the platform-side 2FA policies, identity/KYC requirements, and account status are determined by the target platform; the platform does not guarantee permanent account usability and cannot bypass mandatory verification.
For account delivery and after-sales details, see overseas account delivery process.
FAQ
Should I remove the original holder's verification method first or add my own first?
Always add your own first. When adding a new method, platforms typically require verification via the existing method. If you remove the original holder's first, you'll be locked out because you can't pass verification. Only after adding and verifying can you safely remove the old methods.
Which is more reliable: authenticator or SMS verification code?
Authenticator is more reliable. SMS codes depend on phone number and carrier and are vulnerable to SIM swap attacks; authenticators are based on time synchronization and don't rely on network or phone number. With the trend of Microsoft Entra ID deprecating SMS codes, authenticators or Passkeys are the better long-term solution.
What should I do if I don't receive a verification code for my overseas account?
First check if your new authenticator is correctly bound. Check if your phone's time is synchronized, if the code is within the valid period, and if the bound email is yours. If still not receiving, try logging in again and selecting “other verification methods,” or contact platform support.
Can the original holder still log in after I change 2FA?
Yes, if old backup codes, trusted devices, or recovery email haven't been cleared. You must regenerate backup codes, clear trusted devices, and change the recovery email to completely block the other party's access.
How should I save two-step verification backup codes?
Offline storage is safest. Write them on paper and keep in a secure place, or use an offline password manager. Don't store screenshots in cloud drives or chat apps, as these can be accessed by third parties.
Why does my account require extra verification?
Usually because risk control detects a new device or IP, or because there's a cooldown period after changing verification methods, or the platform mandates 2SV (like TikTok's 2SV policy). Complete the verification as prompted; if it persists, contact platform support.


Comments(0)